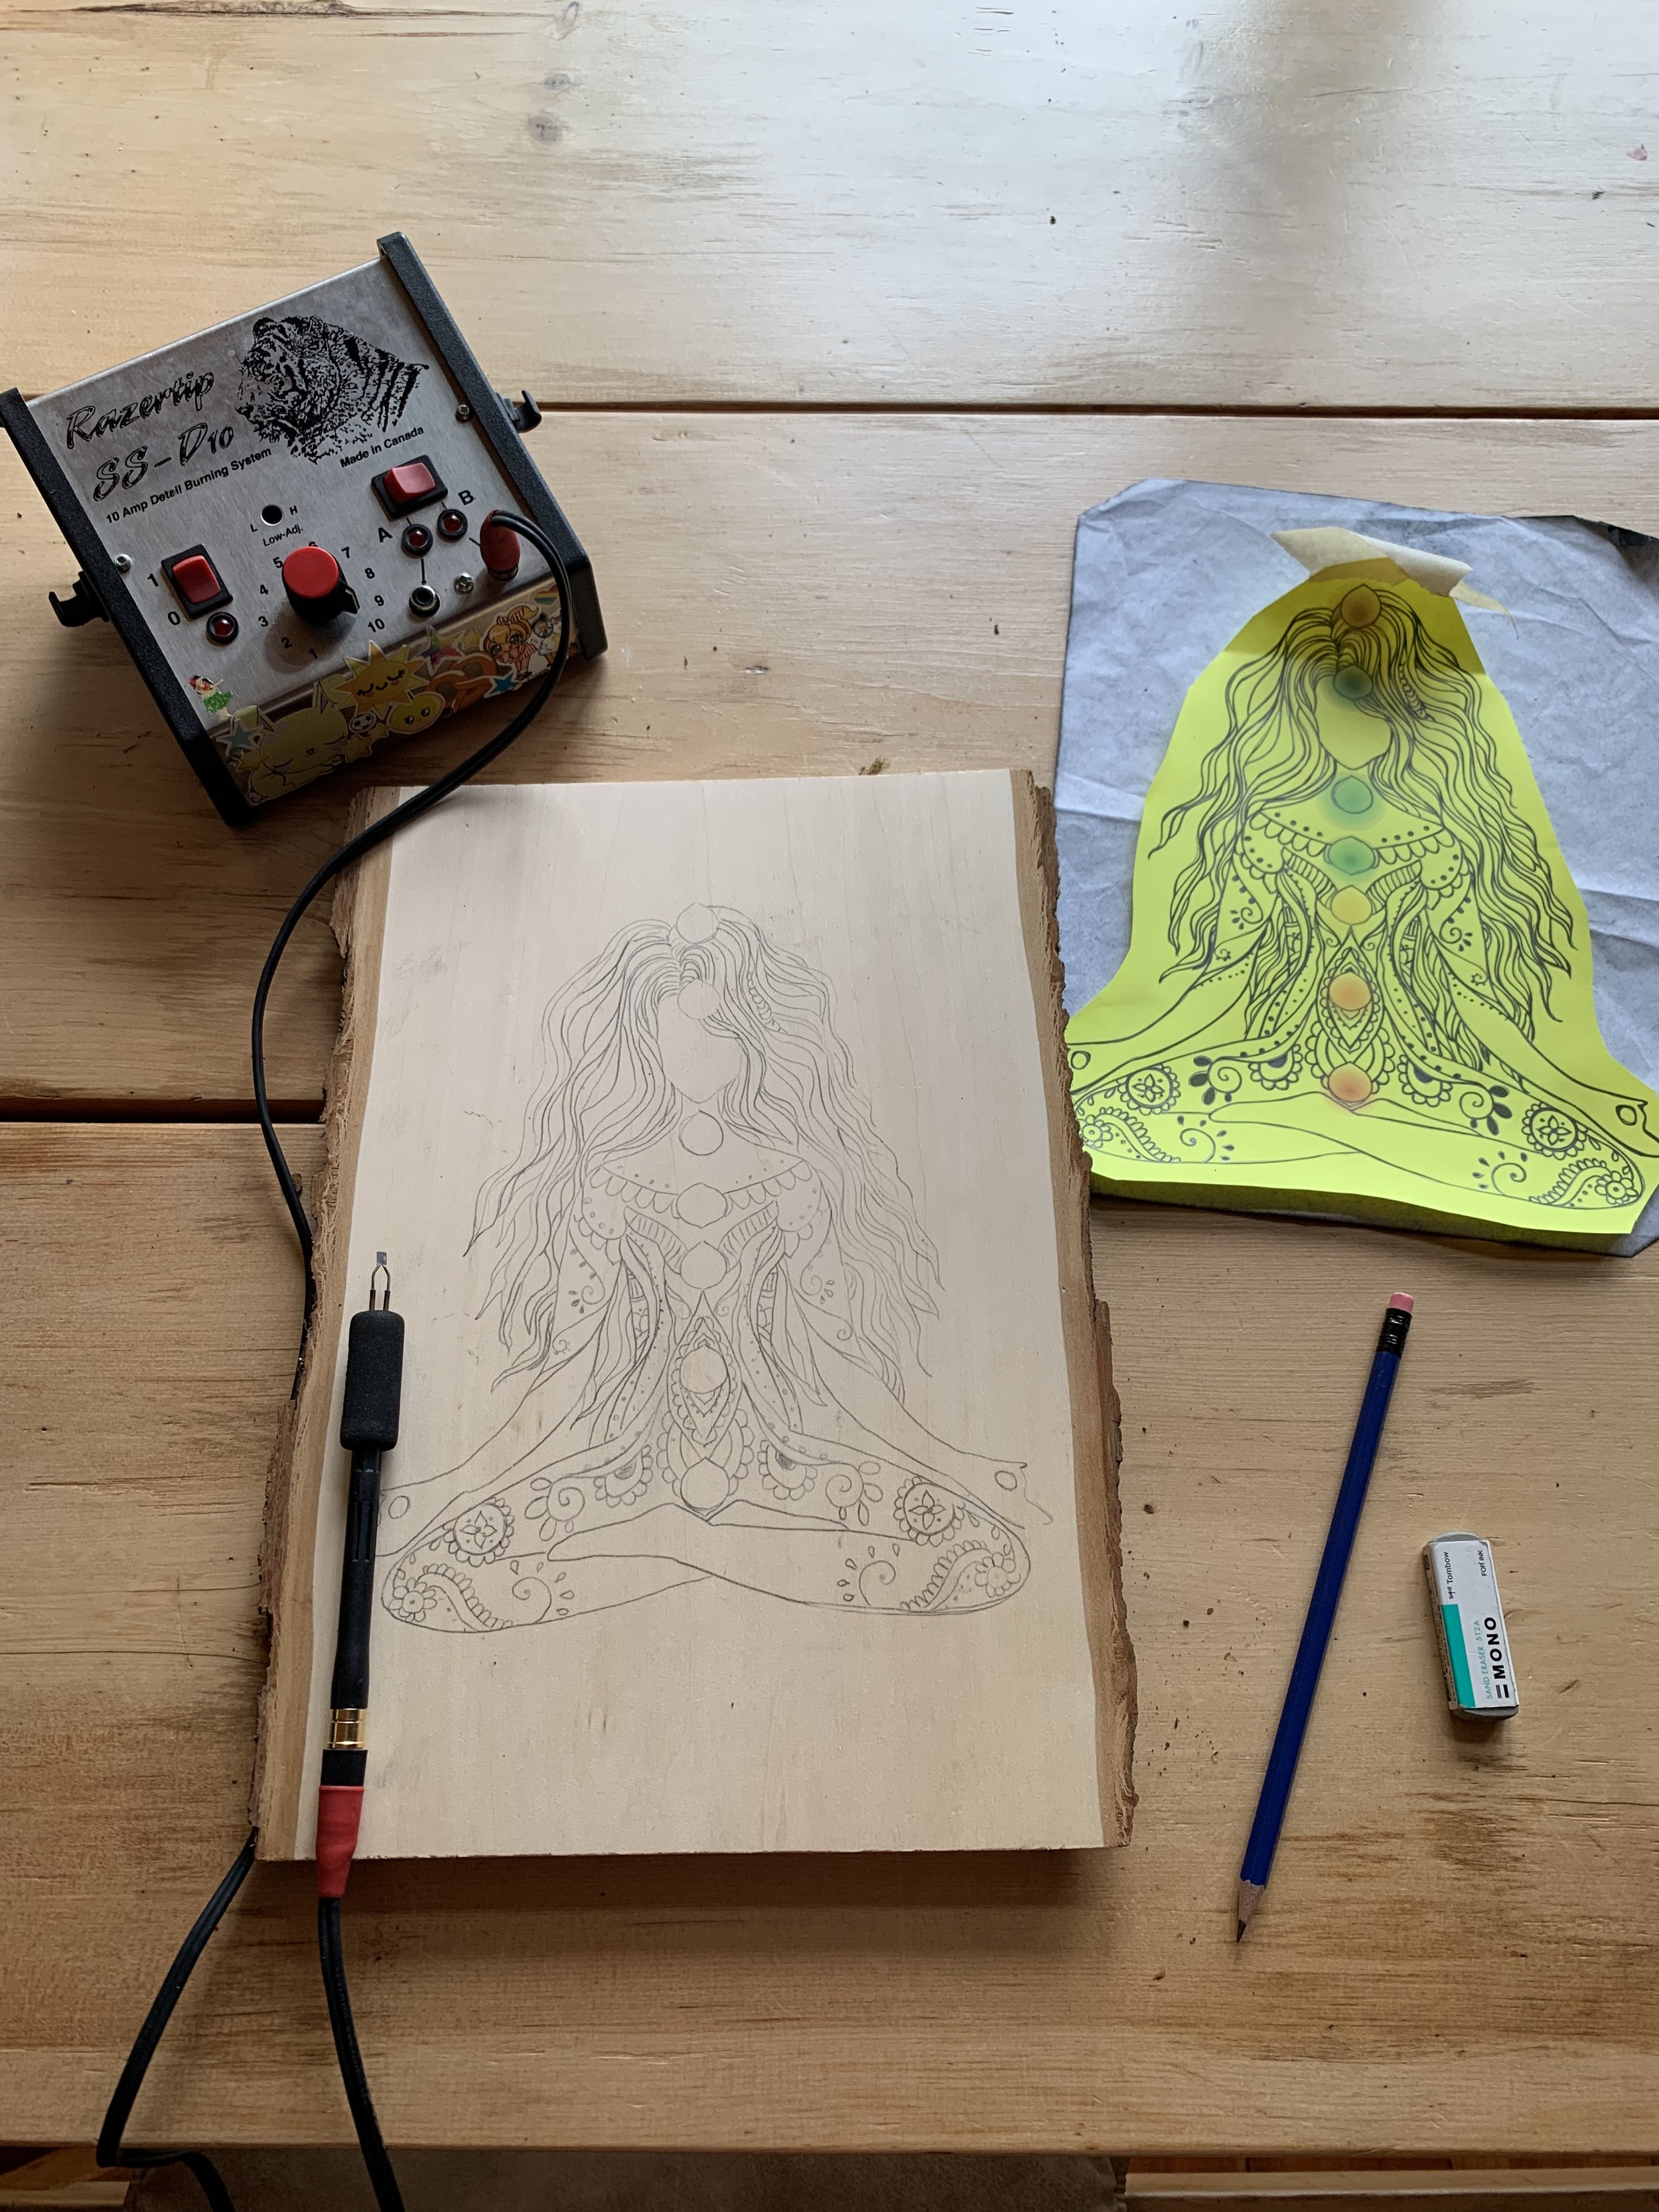
my favourite three ways to transfer a design onto wood (from least to best) are:
graphite pencil
graphite paper
heat
For all methods, one thing is for sure: prepare your wood slice for a more clear and precise transfer by sanding the surface.
Ensure that the wood surface is clean and smooth. If needed, sand it lightly to create an even texture for a better transfer.
ALSO, for all methods, another thing is for sure: wear your safety gear when burning!! Check out this blog post to keep yourself safe while you burn:
How to wood burn safety
ONE: graphite pencil
This is the most simple and inexpensive way to transfer a design:
Using a graphite pencil to transfer a design onto wood is a cheap and versatile method that allows you to transfer almost any design onto wood with minimal tools. the hardness of the pencil will matter here; The softer (10b is much softer than 10h).
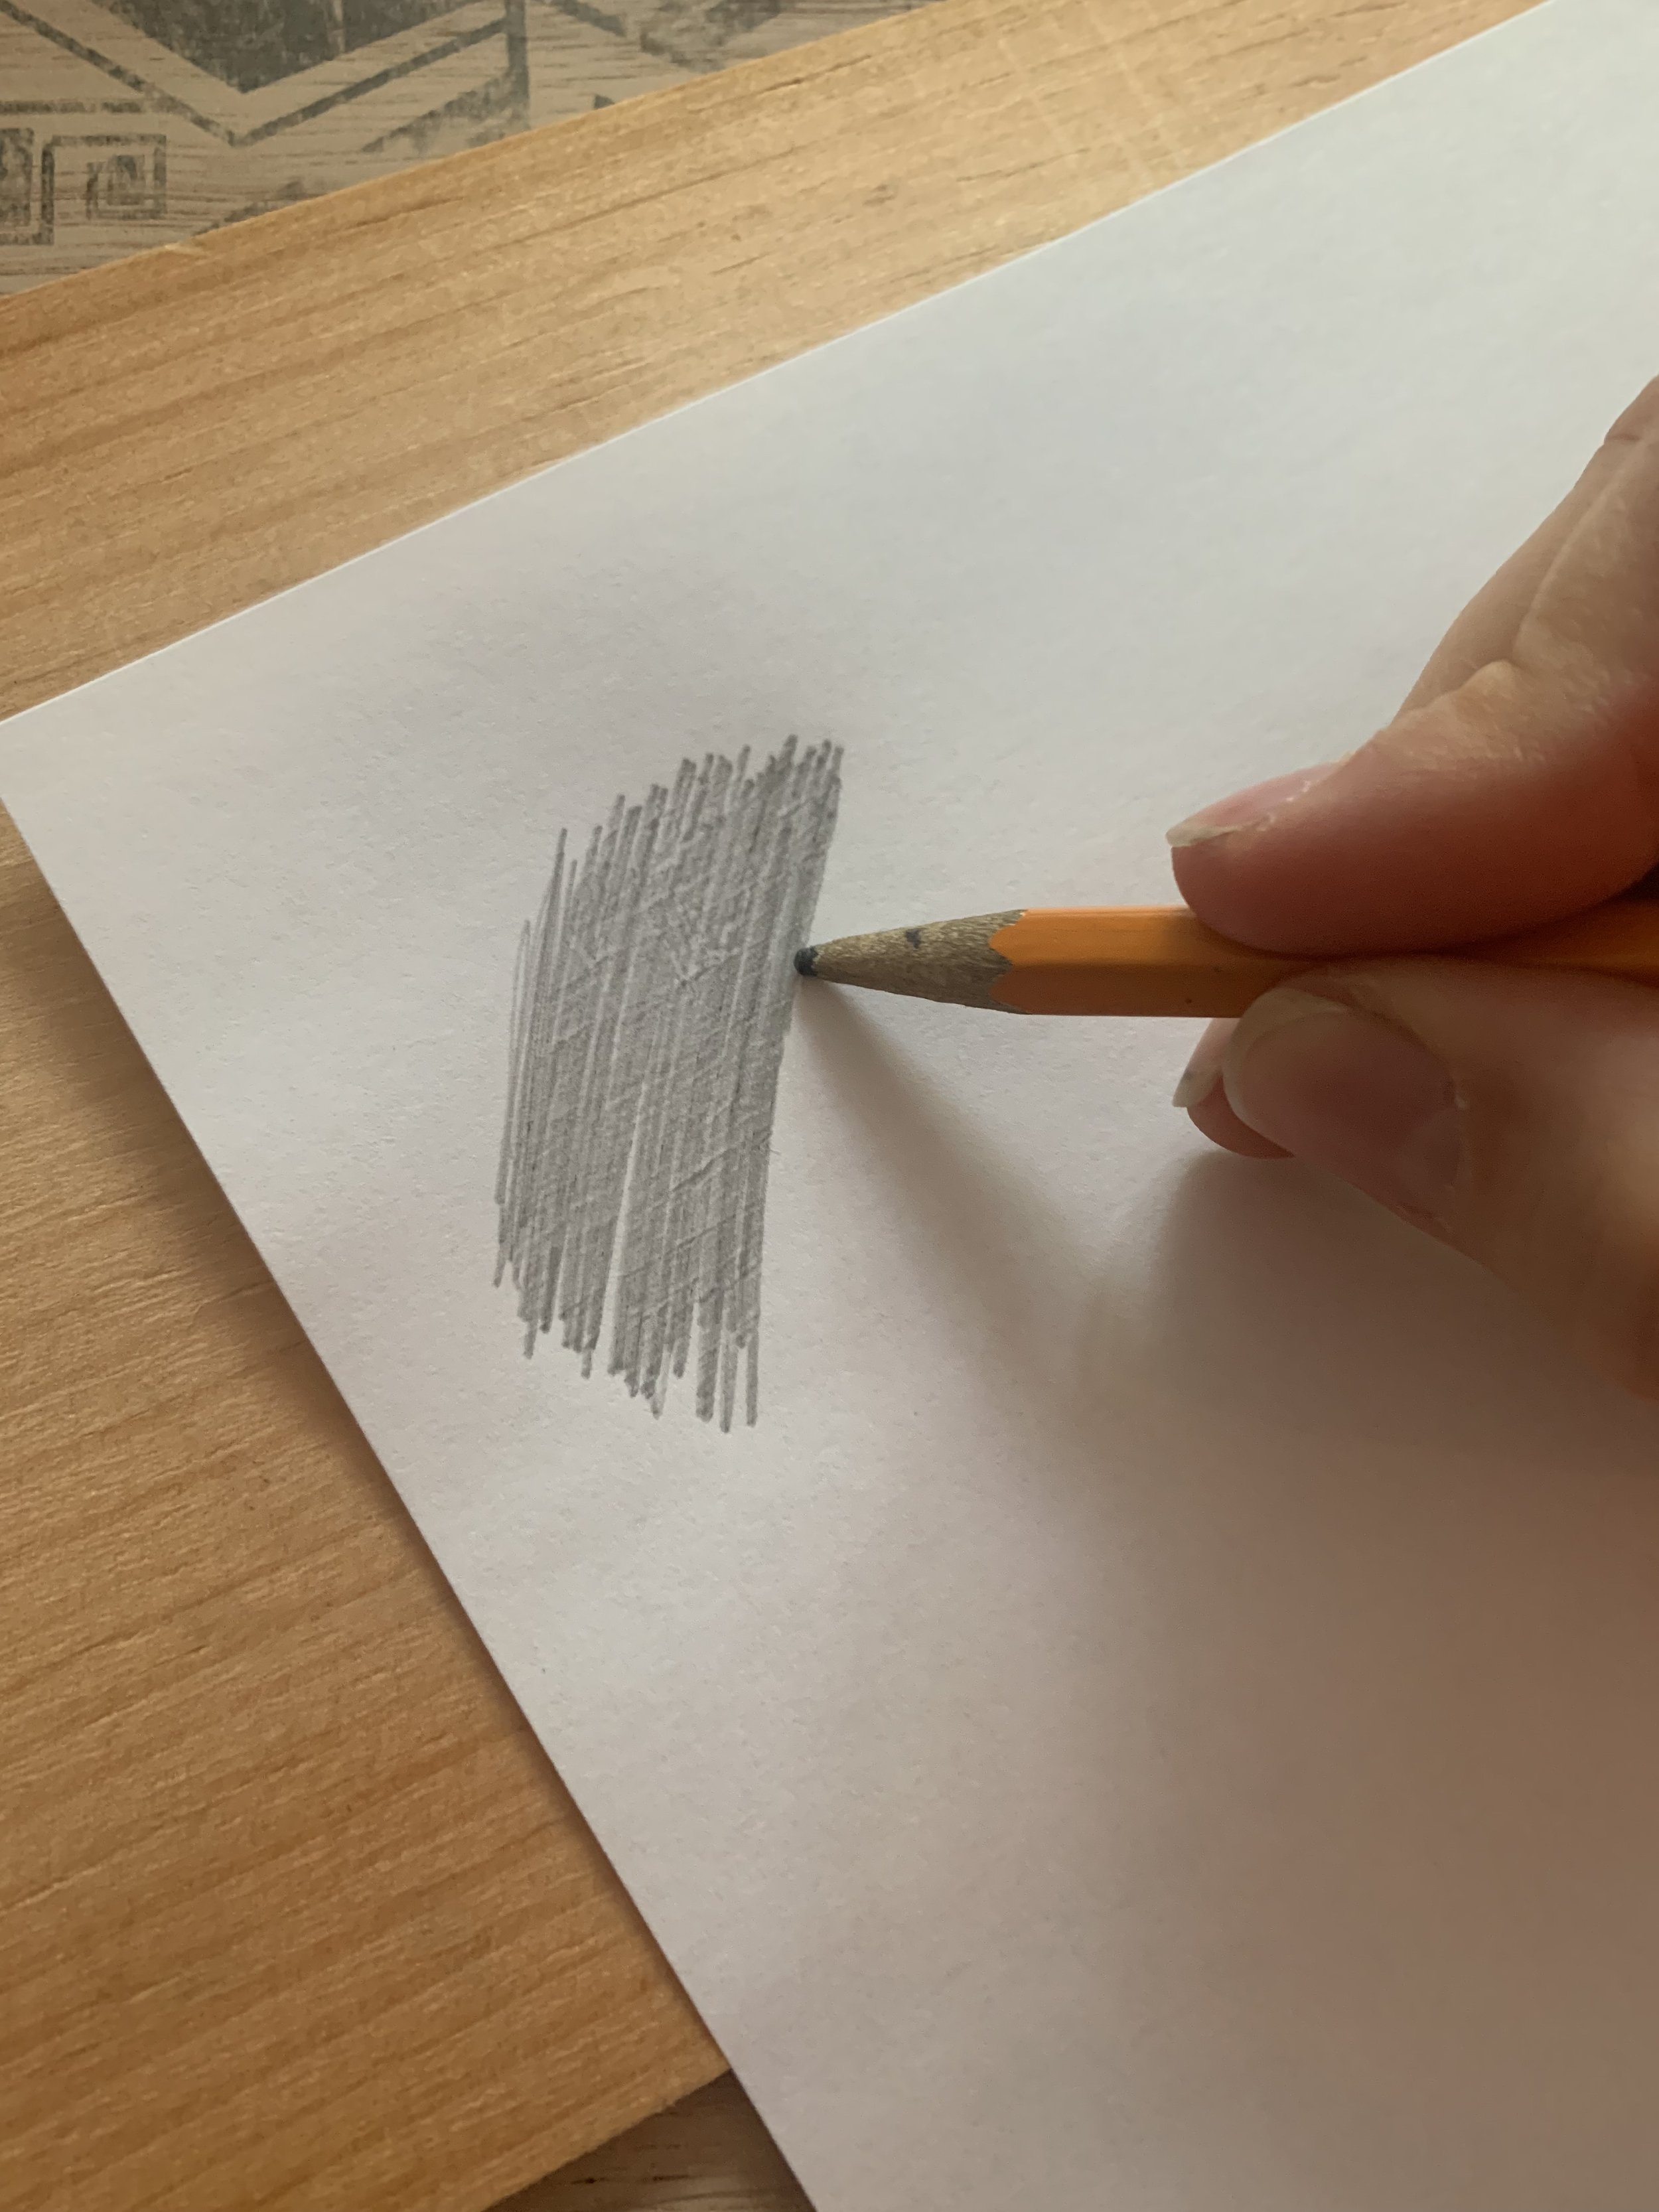
flip your paper over and rub your graphite pencil all over the back of the design. ensure all the white spots are gone and that the graphite pencil covers the back of the entire design.
next, flip your paper over again so the pencil you just shaded with is on the wood and your design is facing up.
position it on your wood slice and trace over your design. Your pressure should be fairly strong but do not press too hard or you may dent the wood. This will transfer the lead onto the wood and leave you with your design you can burn! peak underneath from time to time without moving around your design to check if it has transferred.
then you’re ready to burn! once you’ve burned your design, you may be left with extra graphite lines… check out: how to get rid pyrography mistakes and transfer lines
pro’s: you only need a pencil
con’s: it takes some time to cover the back of your design with lead/graphite and then you then you need to re-trace your original design.
This also means your design needs to be on a thinner paper (thick paper will be more difficult to transfer).
and this method could curl your paper and damage your design. you can use it a couple times over, but the original design will not be the same.
two: graphite paper
To transfer a design onto wood using graphite paper is easy and fairly cheap. Grab graphite paper though - not carbon paper as carbon paper is harder to remove after you are done. I like to use this graphite paper from walnut hollow or this roll for larger pieces.
follow these steps for an easy transfer:

Position the design (facing up): Place the design on top of the wood surface in the desired position. secure it with tape to prevent it from moving during the transfer process. I like to use washi tape because it sticks well but is also easy to remove from the wood (and most paper).
slide the graphite paper under your design: Take the graphite paper and position it between the design and the wood surface. The graphite side (usually the darker side) should face the wood. make sure the graphite is under the entire design (where you will be tracing).
Trace the design: Using a pencil or a ballpoint pen, carefully trace over the lines of the design. if you do not want to damage your design you can also use a dotting tool. Apply enough pressure to transfer the graphite onto the wood, but not so much that you damage the paper or wood surface. also, the harder you press, the harder it will be to remove excess graphite from the wood!!
Check the transfer before you get too far: Lift a corner of the design and graphite paper to see if the transfer is happening effectively. make sure you do not move the design out of place during the sneak peak. If you can see the markings, continue tracing until the entire design has been transferred.
Remove the design and graphite paper: I like to check if everything has transferred first then I Gently lift the design and graphite paper from the wood surface.
then you’re ready to burn! once you’ve burned your design, you may be left with extra graphite lines… check out: how to get rid pyrography mistakes and transfer lines
watch the video below to see a neat way to save your designs! I used tracing paper to get the design out of the book (The community book of templates! This little snail is Maria Johnson’s design from volume 2).
pro’s: you only need graphite paper which is cheap and can be reused over and over.
con’s: you still need to go over your entire design with a pen or dotting tool - this can be a lot of work if your design is very large or complex.
three: using heat to transfer your design:
Transferring a design onto wood using heat is quick and efficient. To begin, ensure the chosen design is printed using a laser printer and in reverse if there is lettering.
Position the design (facing down): Place the design on top of the wood surface in the desired position. secure it with tape to prevent it from moving during the transfer process. again, I like to use washi tape because it sticks well but is also easy to remove from the wood (and most paper). try not to cover any part of your design as it won’t transfer as well.
heat up your tool. i like to use the walnut hollow versa tool with the transfer nib or the shading point (sold separately). an iron will work just as well, however it may take longer and you may need to press a bit harder because it doesn’t get as hot as a pyrography tool. Essentially you need a flat hot end. Try a medium level first. Be careful, if it’s too hot, you may burn the paper.
transfer the design: use some pressure (check underneath to see how well its transferring) but do not stop moving. I like to use short lines, back and forth. If you stop in one spot, you may burn the paper. if nothing is transferring, slowly turn up the heat and keep moving while checking under the paper to see how well the transfer is working.
Check the transfer before you get too far: Lift a corner of the design to see if the transfer is happening effectively. make sure you do not move the design out of place during the sneak peak. If you can see the markings, continue using your heat tool until the entire design has been transferred.
Remove the design: I like to check if everything has transferred first then I Gently lift the design and graphite paper from the wood surface.
I hope you enjoyed using one of these methods to transfer your designs onto wood.
Want some traceable pyrography patterns??
If you are looking for some free designs you can practice with, check out our freebies page.
For more beautiful patterns, check out our traceable template books.
Or you can purchase individual unique designs (royalty free ones too).